Starting Your Podcast Part 2: Production
March 27, 2024
Hey Friend! Welcome to Part Two. If you read Part One, you may already have a format for your new podcast in mind – or at least you know what you’re going to try to do for the very first episode and are prepared for it to change A LOT from there – and you’re ready to figure out the next steps.
Before we jump in, let me offer a friendly disclaimer that I am not now, nor am I ever likely to be, an audio expert. My “expertise” in this area came as a result of my first co-host (/producer/audio engineer/general technical wizard) moving on to a different job and us deciding we liked podcasting too much to stop doing it.
Basically, if I can do this, you can, too.
1. Low Effort
You can capture your audio on cell phones, laptops, or cloud recordings with the onboard microphone. To make this as low-effort as possible, record on one device in a quiet room or through online meeting software that combines the audio into one track. Just make sure you can save the audio track in a format that will be podcast platform friendly (MP3 is the most recommended format, but some platforms will also work with MP4 or WAV files).
And if you want to be super low-effort, check into a podcast platform that will let you record, edit, and publish in one spot. Our early episodes were hosted on Anchor.FM, now Spotify for Podcasters and their Creation Tools, could be a one-stop shop for your new show.
Before you press record, decide how you’ll handle the start and end (intro and outro if you want to use some lingo), and you’ll be ready to roll.
2. Medium Effort
The first way to increase your show’s audio quality is to add microphones and record each participant on a separate audio track. This gives you more ability to edit out some of those very human noises we all make sometimes (coughs, sneezes, etc.). If you record everyone to the same device, either through an external recorder or directly into the audio editing software, you can easily sync the tracks.
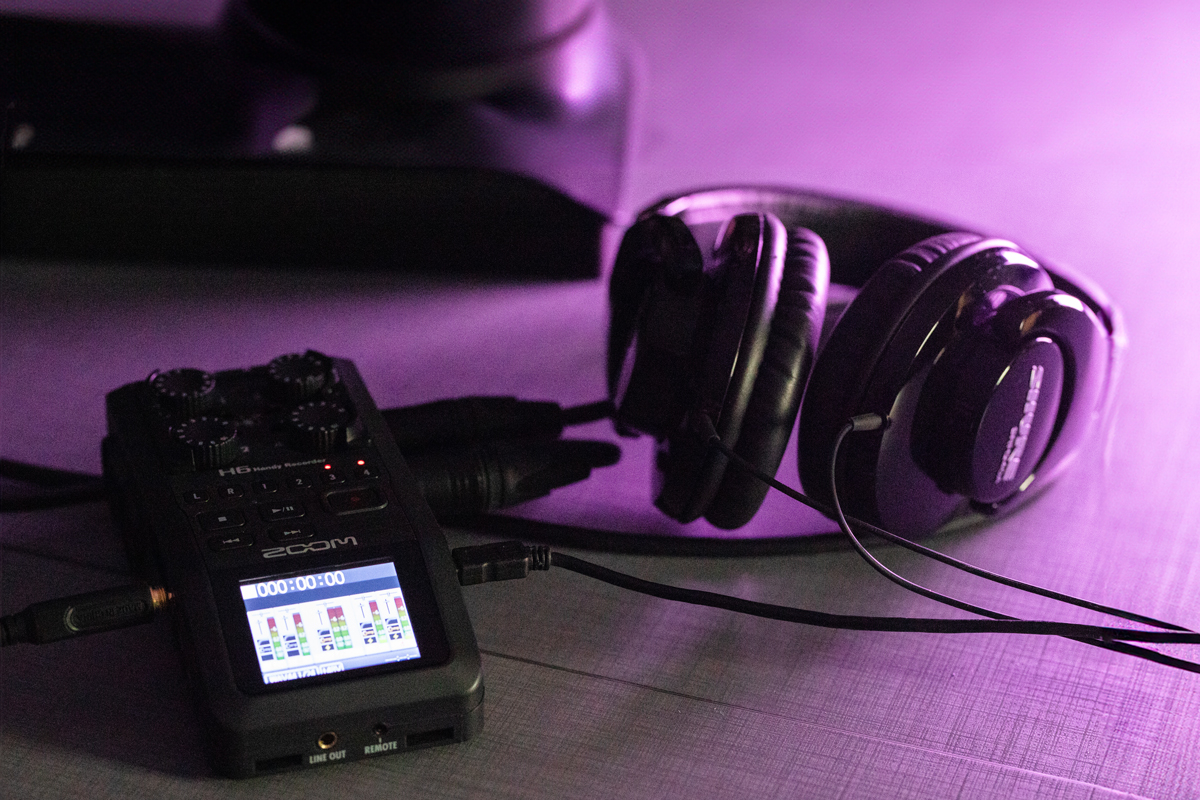
Want some recommendations? We’ve used a couple versions of Yeti mics over the last few years. They’re affordable and give you a beautifully clear recording. Connect them to a Zoom four-track recorder, and you’ll get incredible flexibility and quality without a massive expense.
Finally, add a set of headphones, use your new tech, and do a quick sound check to make sure you can hear everyone before you hit record. You’ll save a ton of time in the edit. (I like to crack some jokes during sound check to see how loud everyone will be if they laugh. It gives me a good indication of the loudest they’ll be on the mic.)
3. High Effort
Once you’re using a mic, there are a lot of other improvements you can make to get pristine audio if that’s what you’re looking for. Higher quality mics set on anti-shock stands with pop filters will eliminate some of the noise you don’t realize you’re making, but the better mics will hear loudly and clearly.
To improve the room tone, sound-dampening panels or just adding more soft surfaces (think blankets and pillows) will reduce the echo and give your recording a richer sound.
If you have the people-power, having someone monitor your recording and adjust sound levels on the fly will create the best finished audio. We move all around, even when we’re supposed to stay in one spot, and just a few inches of distance from the mic can make a huge difference in your recording.
I’ve just given you a lot more to think about, so let’s give your brain a break. After all, the most important part of your AH-MA-ZING new podcast will be what you use all this technical know-how to say.
Come back next time so we can wrap it up with Editing and Distributing your masterpiece!

About the Author: Suzanne Campbell is the Lead Creative & Brand Champion on the Exclamation Marketing team and the self-proclaimed evangelist for Brand Voice. She’s picked up a lot of smart ideas from a lot of amazing people in her nearly 25 years of experience, and you can frequently hear them on the Awsomology podcast.

